You spent $40,000 on a fiber upgrade. Six months later, your link is dropping packets, your OTDR shows attenuation creeping up, and nobody can figure out why. The hardware looks fine. The switches test clean. So what’s going wrong?
Most of the time, the answer is hiding in your fiber patch cables. These small cables connect your switches, routers, and servers, and they handle most of the data flow in your network. According to Juniper Networks, high-quality single-mode fiber loses only about 0.2 dB of signal per kilometer, which is why fiber is still the top choice for speed and reliability.
But that level of efficiency only shows up when the cable is installed and handled the right way. A tight bend, a dirty connector, or the wrong cable type can quietly cut your performance in half. In this blog post, we’ll walk you through the 7 most common fiber optic patch cable mistakes and show you simple ways to fix each one.
What’s the Reason Fiber Patch Cables Fail?
Most fiber patch cables don’t fail because the cable itself is bad. They fail because of small handling and setup errors that add up over time. The number one cause is dirty connector endfaces. A speck of dust smaller than the width of a human hair can block the light signal and crash your link. Fluke Networks and the Fiber Optic Association both list contamination as the leading cause of fiber link failures. The second biggest cause is bend stress. Fiber is glass, and glass doesn’t like sharp bends. When you push a cable past its bend radius, light leaks out of the core. The cable still looks fine, but your signal quietly drops by 0.5 to 1 dB.
The most common reasons fiber patch cables fail are:
- Mismatched connector types (UPC plugged into APC)
- Wrong fiber grade for the speed or distance
- Too much pull tension during installation
- Cables that are too long or too short
- No testing after the install is done
What Are the Most Common Mistakes That People Make?
Most fiber patch cable problems start small. A skipped step here, a wrong choice there, and a few months later your network is paying the price. Below are the seven mistakes I see over and over again, why they hurt your performance, and exactly how to fix them.
1. Choosing the Wrong Fiber Type
This is the mistake that sets everything else up to fail. People grab whatever fiber patch cables are cheapest or already on the shelf, without checking if the fiber type matches the job.
Single-mode (OS2) and multi-mode (OM3, OM4, OM5) are not interchangeable. Single-mode is built for long distances and high speeds. Multi-mode is built for short runs inside data centers and offices. If you mix them up, the link either won’t work at all or will run far below its rated speed.
There’s another trap inside multi-mode itself. Mixing a 50-micron patch cord with a 62.5-micron trunk fiber can add up to 3 dB of loss at one connection point. That’s enough to break a 10G link.
How to fix it:
- Match the fiber type to your distance and speed before you order
- Use OS2 for runs over 550 meters or any speed above 10G long-haul
- Use OM4 as the safe default for new data center installs
- Never mix core sizes (50μm with 62.5μm) on the same link
2. Mismatching Connector Polish (UPC vs APC)
This one catches even experienced techs. UPC connectors have a flat polish and a blue boot. APC connectors have an 8-degree angled polish and a green boot. They look almost identical, but they don’t play well together.
Plug a UPC into an APC and your return loss collapses from -60 dB to around -15 dB. That means a huge amount of light bounces back into the transmitter instead of moving forward. On PON and FTTH networks, this kills the link instantly.
How to fix it:
- Match green to green, blue to blue, every single time
- Use UPC for standard enterprise and data center links
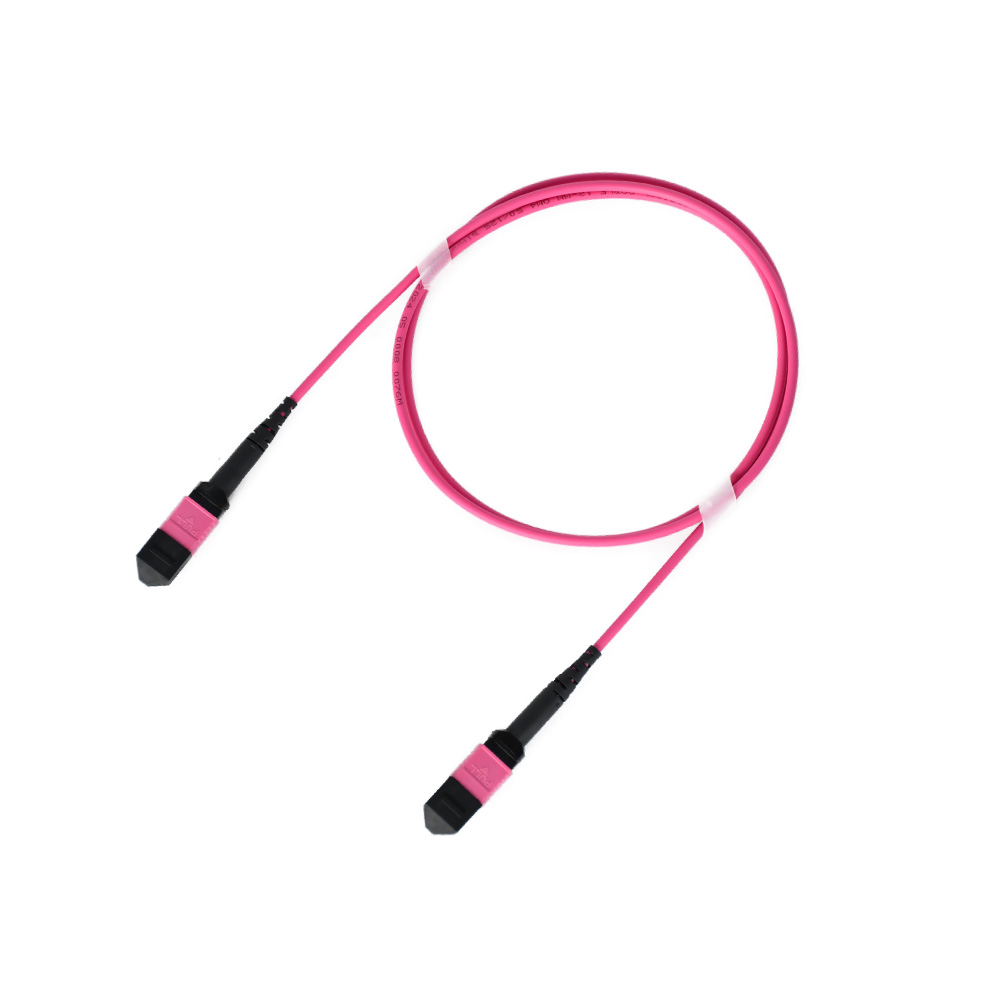
- Use APC for FTTH, PON, and any system carrying video signals
- Never force a connector that doesn’t seat smoothly
3. Violating the Minimum Bend Radius
Fiber is glass. When you bend it too tightly, light leaks out of the core and your signal drops. The frustrating part is that the cable still looks completely fine.
The standard rule is 10 times the cable’s outer diameter for installed cables, and 20 times during installation when the cable is under tension. Cross that line and you can lose 0.5 to 1 dB from a single tight bend.
A common warning sign is a signal that drops every time someone closes a cabinet door. That’s almost always a cable getting pinched behind the door.
How to fix it:
- Follow the 10x rule for installed cables, 20x while pulling
- Use bend radius protectors at every sharp turn
- Route cables through proper management rings, not over cabinet edges
- Check for pinch points before closing any panel or door
4. Skipping Endface Cleaning
This is the number one cause of link failures, and it’s also the easiest one to prevent. A dust particle as small as 5 microns can block enough light to crash your connection. Fingerprints, oil, and skin cells are even worse.
Most techs make it worse by cleaning the wrong way. Wiping a connector on your shirt, dipping it in alcohol, or using a generic wipe leaves residue that scatters light. Some of these “shortcuts” actually scratch the endface and cause permanent damage.
How to fix it:
- Inspect every connector with a fiber scope before you plug it in
- Use a one-push pen cleaner made for fiber connectors
- Clean both ends of the connection, not just one
- Re-inspect after cleaning to confirm the endface is clear
5. Exceeding Pull Tension During Installation
Fiber patch cables have a maximum pull rating, and most people blow right past it. They yank the cable through a duct, pull on the jacket instead of the strength members, or use too much force to seat a connector.
You won’t see the damage right away. What happens is microfractures form inside the glass core. The link works at first, then slowly degrades over weeks or months. By the time you notice, the cable is already failing.
Standard fiber patch cables handle 60 to 150 newtons of pull force. MTP/MPO cables can take up to 240. Armored cables can go up to 800. Going over those limits is asking for trouble.
How to fix it:
- Always pull on the strength members, never the jacket
- Check the manufacturer’s max pull rating before you start
- Keep the pull path smooth and obstacle-free
- If you have to force it, stop and find out why
6. Wrong Cable Length
Both extremes hurt you. A cable that’s too short pulls on the connectors and creates stress at the ferrules. A cable that’s too long means coils of slack inside the cabinet, which leads to tangles, tight bends, and management headaches.
Excess slack also adds tiny amounts of insertion loss across the run. It might not break your link, but it eats into your loss budget and leaves you with no margin for future changes.
How to fix it:
- Measure the actual route before you buy, not just the straight-line distance
- Add 10 to 15 percent for service loops, not 50 percent
- Use the right length, not “close enough”
- Keep service loops large and loose, never tight coils
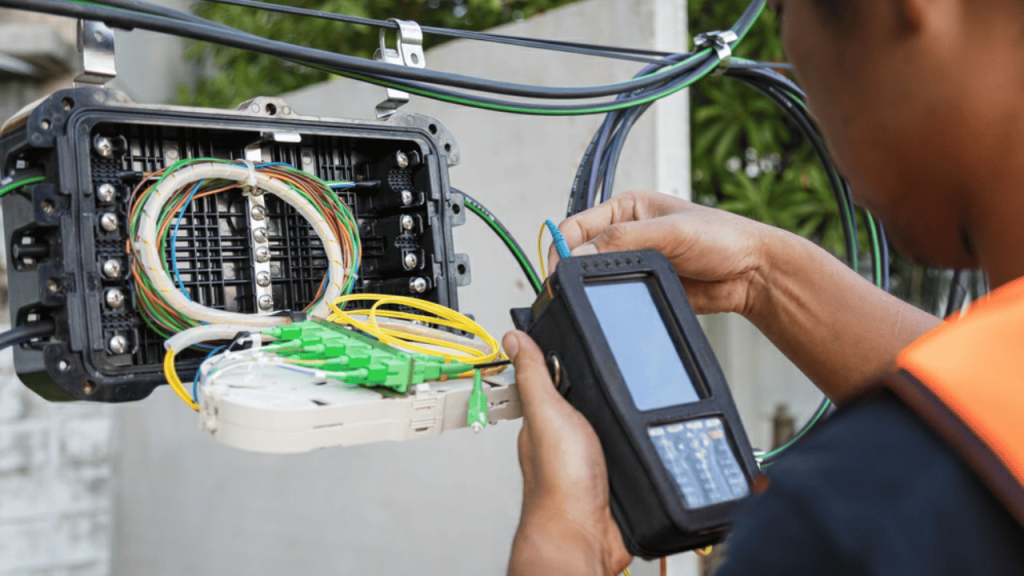
7. Skipping Post-Install Testing
This is where good installs go bad. The link comes up, the lights turn green, and everyone moves on. No OTDR trace. No insertion loss baseline. Six months later, when the link starts dropping, nobody has any data to compare against.
A clean install should show insertion loss under 0.3 dB per connection and return loss better than -50 dB for UPC or -60 dB for APC. Without testing, you’re guessing.
How to fix it:
- Run an OTDR trace on every new link and save the file
- Use a power meter to measure end-to-end insertion loss
- Document every reading with the date, link ID, and tech name
- Re-test annually for critical links
How to Choose Fiber Patch Cables That Avoid All Mistakes
Picking the right cable from the start saves you from most of the problems we just covered. The trick is to think about your network first, then match the cable to it.
Here’s a simple 5-point checklist to get it right:
- Match the fiber type to your distance and speed. Use OM4 multi-mode for short data center runs under 300 meters and OS2 single-mode for anything over 550 meters or higher than 40G long-haul.
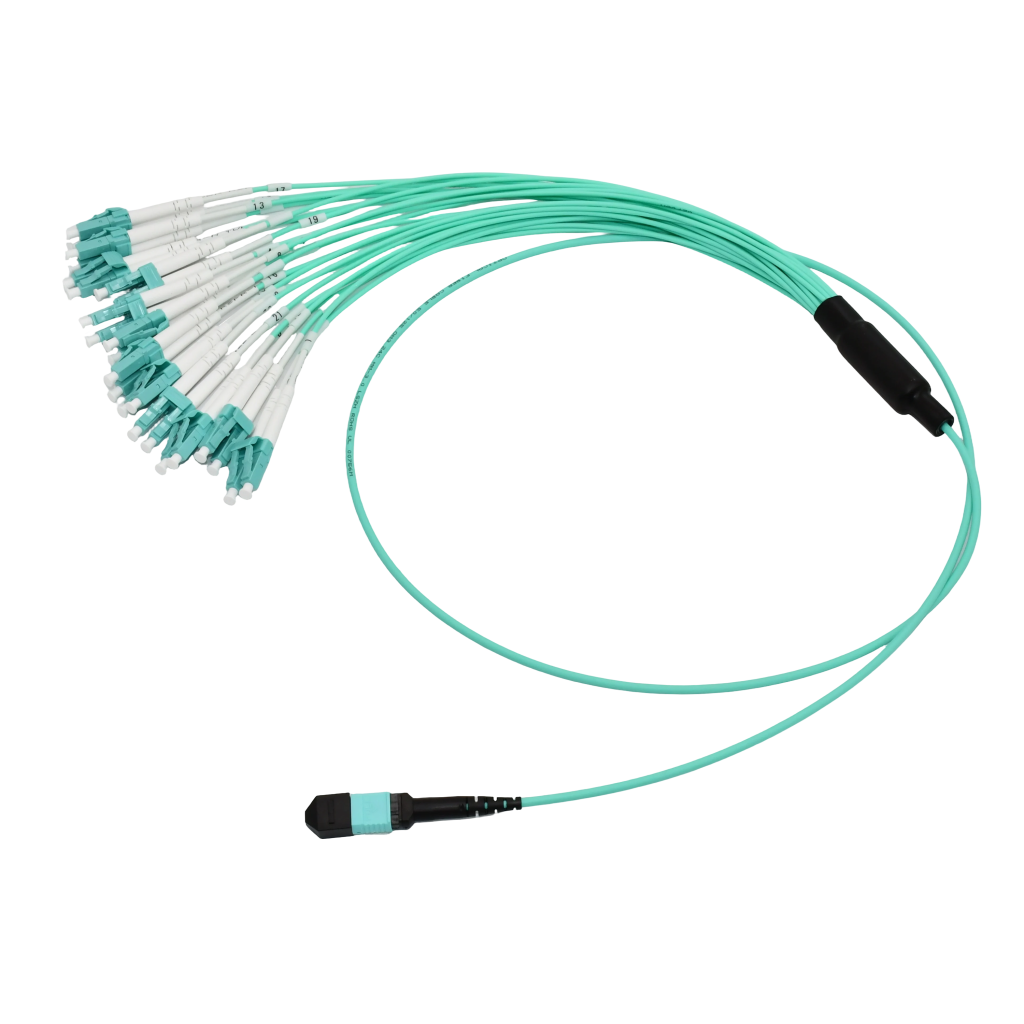
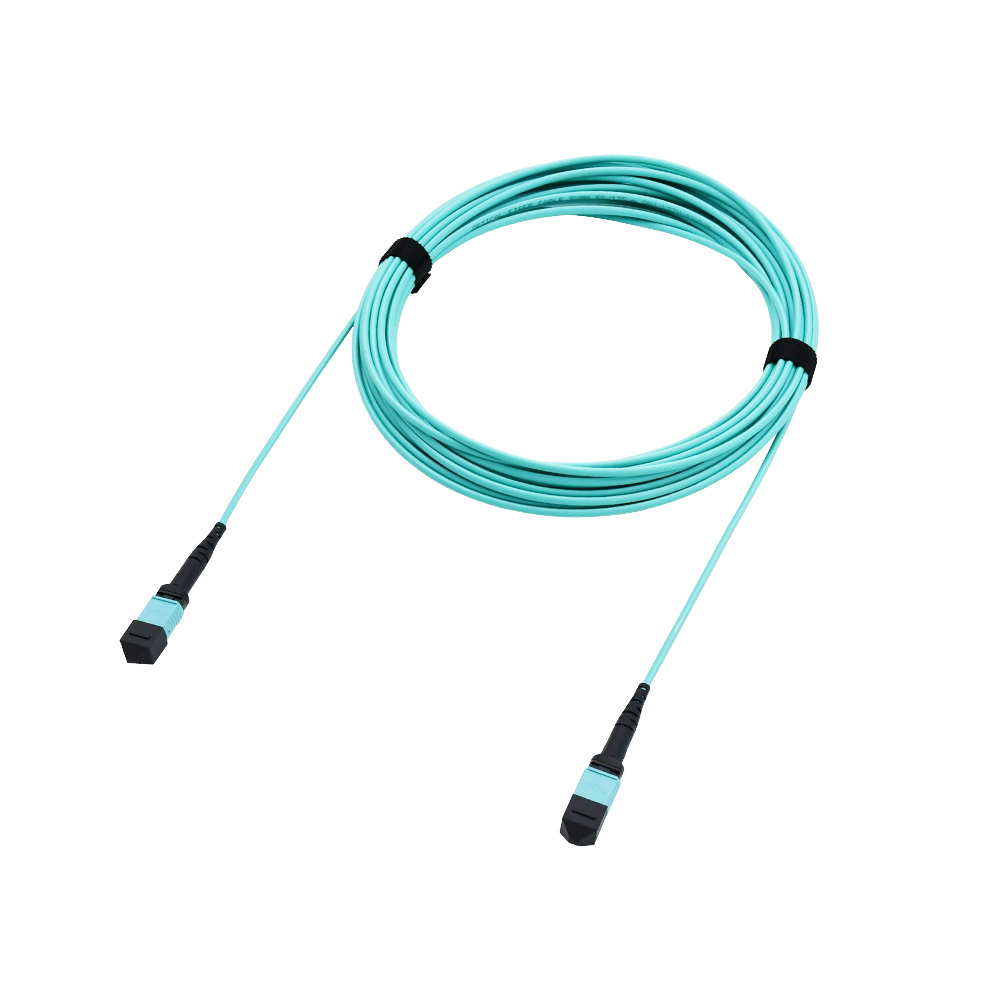
- Pick the right connector and polish. Go with LC for high-density installs and MTP/MPO for 40G and above, and stick to UPC (blue boot) for enterprise networks or APC (green boot) for FTTH and PON systems.
- Order the exact length you need. Measure the actual cable path instead of the straight-line distance, then add only 10 to 15 percent for service loops and bend radius.
- Check the jacket rating for your environment. Use OFNP for plenum spaces, OFNR for riser shafts between floors, and LSZH for hospitals, schools, and enclosed public buildings.
- Buy from a source that tests their cables. Look for factory test reports, TIA-568 or IEC 61753 compliance, clear jacket labeling, and a real warranty before you hit purchase.
Final Thoughts: Fiber Performance Is Won at Installation, Not at Purchase
The cable you buy matters, but how you handle it matters more. Even the best fiber patch cables will underperform if you skip cleaning, force a bend, or pull too hard during install. Get the basics right, and a properly chosen cable will run clean for 15 to 20 years.
That’s exactly why we built AOF Plus. We’re a full-service fiber company that handles the whole chain, from manufacturing fiber patch cables and fiber optic products, to supplying networks of every size, to helping with installation and on-site support. Every cable we ship comes with factory test reports, clear specs, and the kind of build quality that holds up under real-world use.
If you’re sourcing fiber patch cables for a new install or upgrading an existing network, we’d love to help you get it right the first time. Browse our full range of cables and connectors at aofplus.com, or reach out to our team for a quote tailored to your project. We’ll match the right cable to your distance, speed, and environment, so you don’t waste money on the wrong gear or hours troubleshooting a bad install.