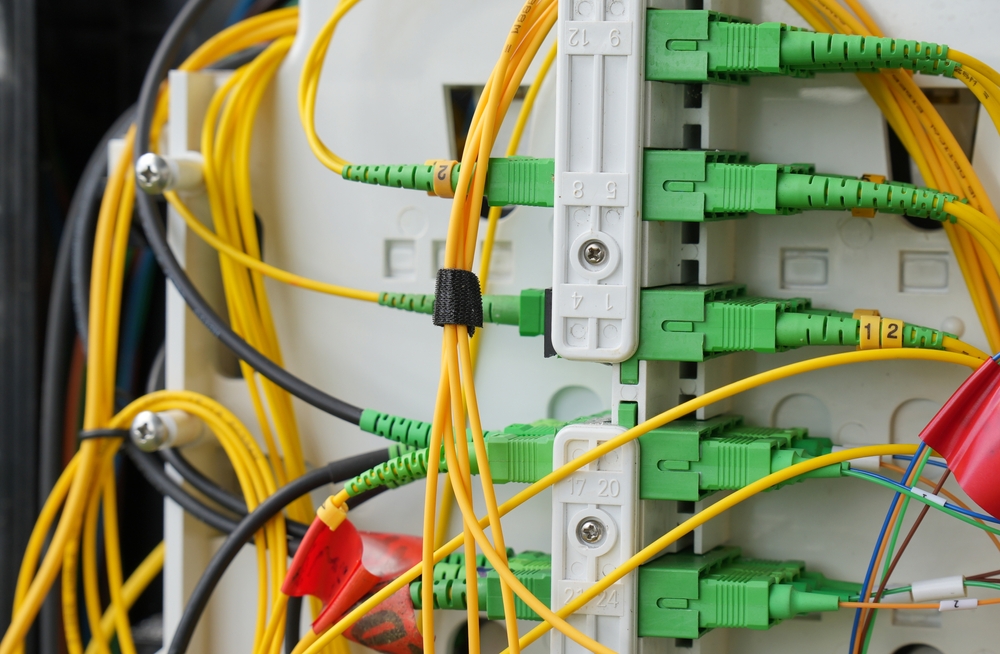
Fiber optic cables are the backbone of modern high-speed networks — from data centers to telecom infrastructure. But even the best cable is useless without proper termination. If done incorrectly, termination can cause signal loss, data degradation, or complete network failure.
In this guide, you’ll learn exactly how to terminate fiber optic cable — the tools you need, the two main methods, and a step-by-step process to get it right the first time.
What Is Fiber Optic Cable Termination?
Fiber optic termination is the process of attaching a connector or splice to the end of a fiber optic cable so it can connect to network equipment, patch panels, or other fibers. The goal is simple: allow light signals to pass through with minimal loss and maximum reliability.
A poor termination leads to insertion loss, return loss, and ultimately an unreliable network. A clean, precise termination protects the glass fiber and ensures consistent signal integrity.
Two Main Methods of Fiber Optic Termination
1. Connectorization (Connector Termination)
This method attaches a removable connector — such as LC, SC, or MPO — to the fiber end. It’s ideal for temporary connections, patch panels, and situations where the fiber may need to be reconnected in the future.
Common connector types:
- LC Connector — Small form factor, ideal for high-density data center applications
- SC Connector — Push-pull snap-in design, commonly used in single-mode networks
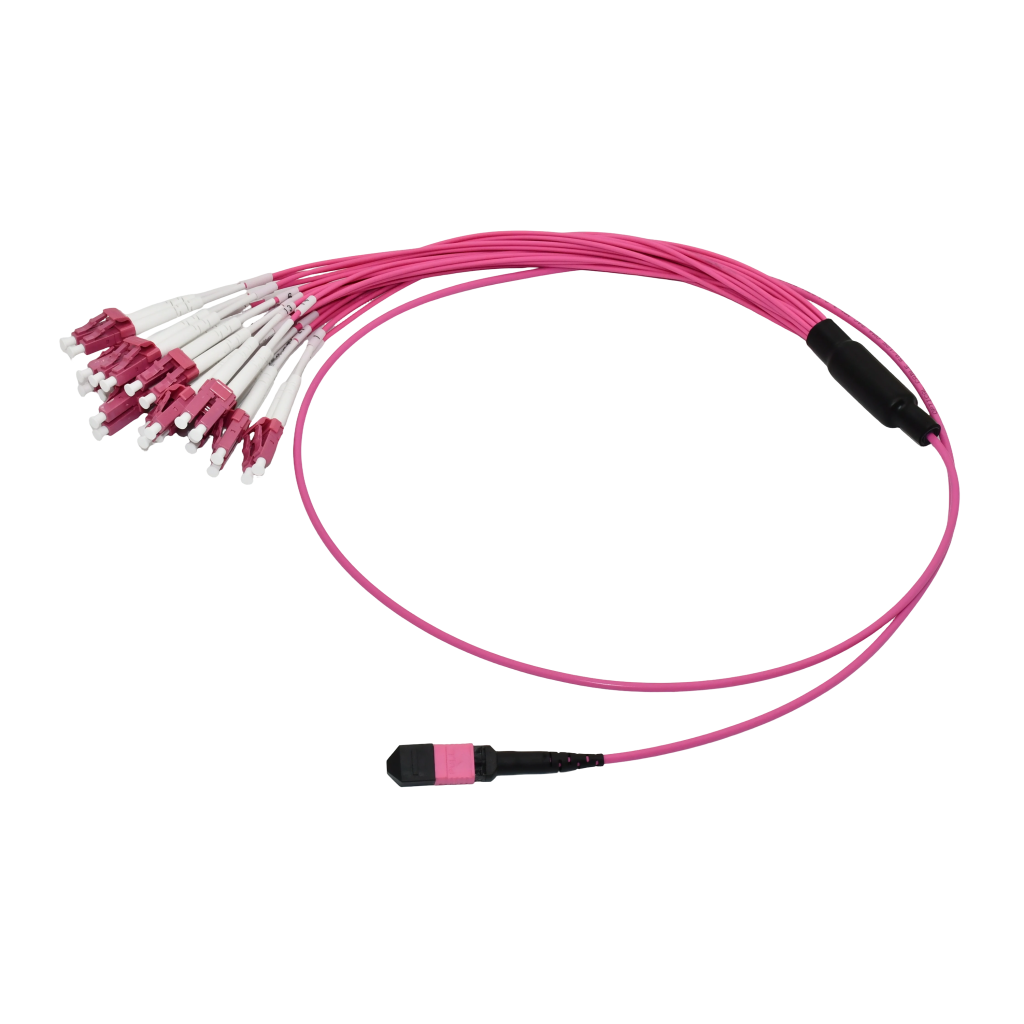
- MPO/MTP Connector — Multi-fiber connector for high-density backbone cabling
2. Fusion Splicing
Fusion splicing uses an electric arc to permanently weld two fiber ends together, creating a nearly seamless optical joint. It produces lower signal loss than connectors and is preferred for long-haul or permanent installations.
Tools and Materials You Need
Before you begin, gather the following:
- Fiber optic stripper — To remove the outer jacket and buffer coating
- Fiber cleaver — For making a precise, flat 90° cut on the fiber end
- Fiber optic connectors (LC, SC, MPO, etc.)
- Epoxy resin or pre-polished crimp connectors
- Curing oven (for epoxy-based termination)
- Crimping tool
- Isopropyl alcohol (99%) and lint-free wipes
- Fiber polishing puck and polishing film
- Microscope (200–400x) for end-face inspection
- OTDR or optical power meter for testing
Step-by-Step: How to Terminate Fiber Optic Cable with a Connector
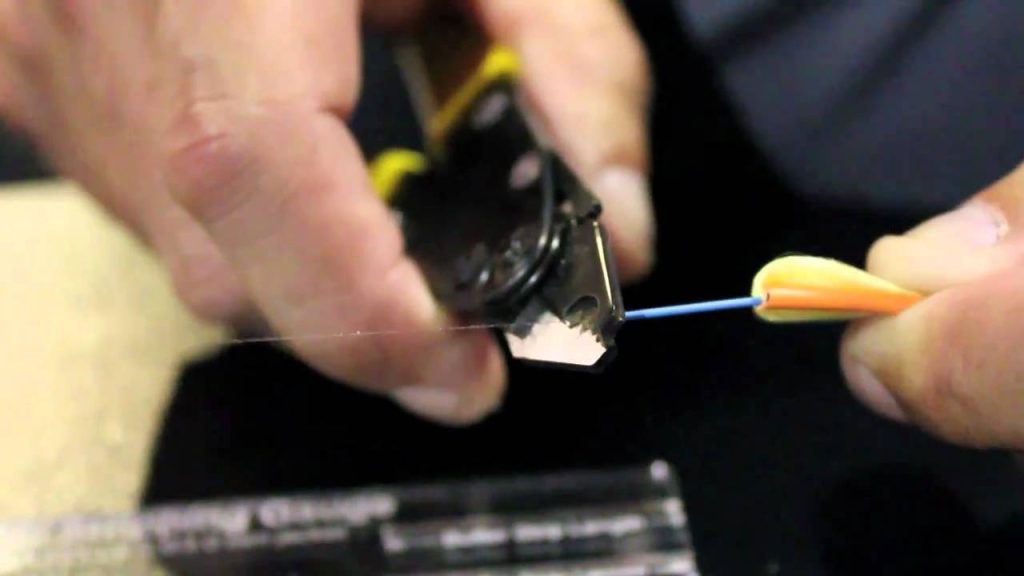
Step 1 — Prepare and Strip the Cable
Start by cutting the fiber optic cable to your required length. Use a cable clamp to hold it steady. Slide the connector boot onto the cable before stripping.
Using a fiber optic stripper, remove the outer jacket to expose the inner buffer-coated fiber. Then strip the buffer coating in small 1 cm segments to avoid stressing the glass fiber. The bare glass fiber is typically 125 microns in diameter — handle it carefully.
Step 2 — Clean the Bare Fiber
Using isopropyl alcohol and a lint-free wipe, clean the exposed bare fiber thoroughly. Any dust, oil, or debris on the fiber at this stage will affect signal quality. Never touch the fiber end after cleaning.
Step 3 — Cleave the Fiber
Place the stripped fiber into the fiber cleaver, aligned according to the manufacturer’s instructions. A proper cleave creates a perfectly flat, perpendicular end face with no chips, lips, or angles. Under magnification, the end face should look like a clean mirror.
This is one of the most critical steps — a bad cleave means poor termination, no matter how well everything else is done.
Step 4 — Apply Epoxy and Insert the Fiber
Mix the epoxy resin and hardener (or use a pre-loaded epoxy syringe) and inject it into the connector ferrule — the small tube that holds the fiber in place. Carefully insert the cleaved fiber into the ferrule, pushing it until it’s fully seated.
If using pre-polished crimp connectors, skip the epoxy — simply insert the fiber until it seats against the pre-polished stub inside the connector.
Step 5 — Cure the Epoxy
Place the connector in a curing oven and allow the epoxy to harden according to the manufacturer’s recommended time and temperature. Proper curing ensures the fiber is permanently secured inside the ferrule.
Step 6 — Crimp the Connector
Once cured, use a crimping tool to secure the connector body onto the cable’s strength members (Kevlar fibers). This provides mechanical strain relief and protects the fiber from being pulled out.
Step 7 — Polish the End Face
Trim any excess fiber protruding from the ferrule using a scribe tool. Then polish the end face on a polishing puck, starting with a coarser grit and working down to a fine grit to achieve a smooth, mirror-like surface. Good polishing reduces insertion loss significantly.
Step 8 — Inspect the End Face
Use a fiber inspection microscope at 200–400x magnification to examine the polished end face. Look for scratches, pits, cracks, debris, or uneven epoxy. If the end face fails inspection, re-terminate the fiber — do not deploy a bad termination into a live network.
Step 9 — Test the Connection
After mating the connector into an adapter or equipment port, test the connection using an OTDR (Optical Time Domain Reflectometer) or optical power meter. Target insertion loss should be less than 0.75 dB for connectors. Use a Visual Fault Locator (VFL) to verify continuity and check for breaks.
Fusion Splicing: Quick Overview
For permanent installations, fusion splicing is the preferred method:
- Strip and clean the fiber ends as described above
- Cleave both fibers with a precision cleaver
- Load both fiber ends into the fusion splicer
- The splicer auto-aligns the cores and welds them together using an electric arc
- Apply a heat shrink protection sleeve over the splice point
- Test the splice — target loss should be less than 0.3 dB
Fusion splicing requires a fusion splicer machine (which can be expensive) but delivers superior, long-lasting connections with minimal signal loss.
Common Mistakes to Avoid
- Skipping fiber cleaning — Even invisible contamination causes signal loss
- Poor cleaving — An angled or chipped end face ruins termination quality
- Touching the fiber end — Skin oils contaminate the glass immediately
- Under-curing epoxy — Results in a loose fiber that shifts inside the ferrule
- Skipping end-face inspection — Never deploy without microscope inspection
- Not testing after termination — Always verify with an OTDR or power meter
Conclusion
Knowing how to terminate fiber optic cable correctly is an essential skill for any network installer or telecom technician. Whether you choose connectorization for flexibility or fusion splicing for permanent, low-loss connections, the key principles remain the same: cleanliness, precision, and proper testing.
Using high-quality fiber optic patch cables and connectors — like those available at AOFPLUS — ensures easier termination and long-lasting network performance right from the start.